Aperture's Lament: Diagnosing and Addressing Light Leaks in Vintage Cameras
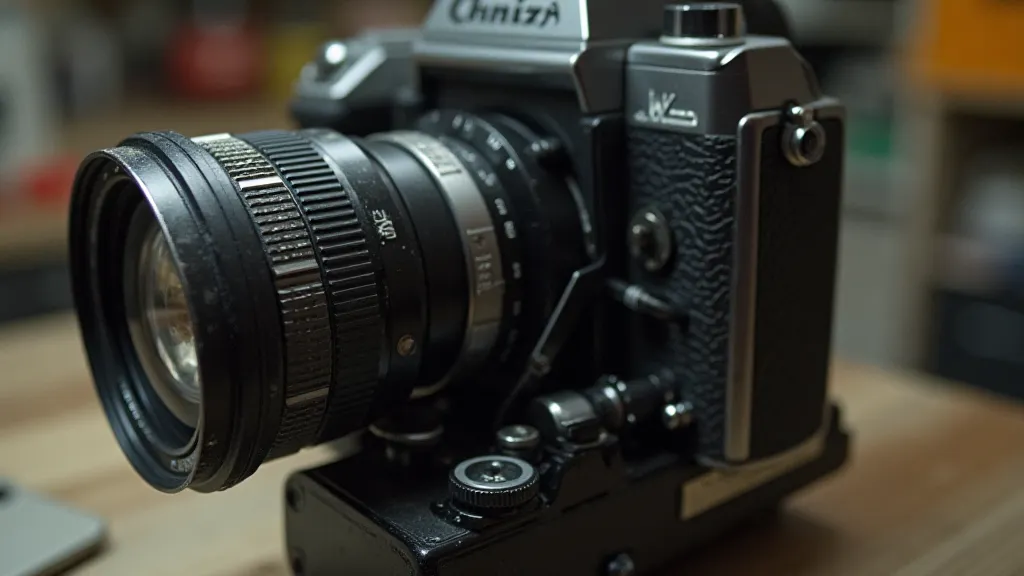
There’s a particular melancholy that settles in when handling a vintage film camera. It’s more than just the cool weight of metal and the satisfying click of the shutter. It’s the echo of countless moments captured, lives documented, and stories told. It’s a connection to a lineage of craftsmanship, a time when cameras were built to last, not to be replaced annually. But with age comes fragility, and one of the most frustrating ailments of these beloved machines is the insidious problem of light leaks.
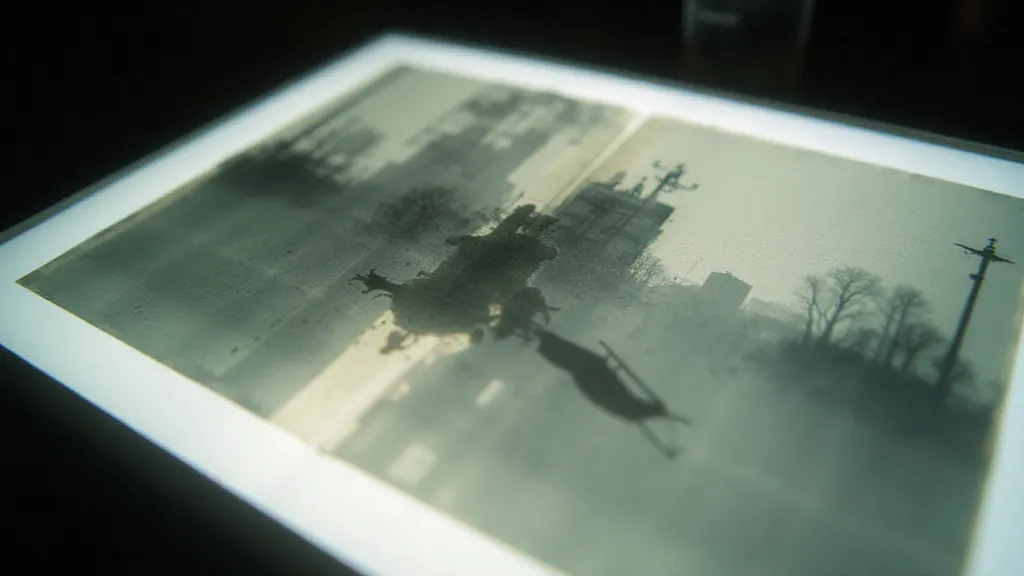
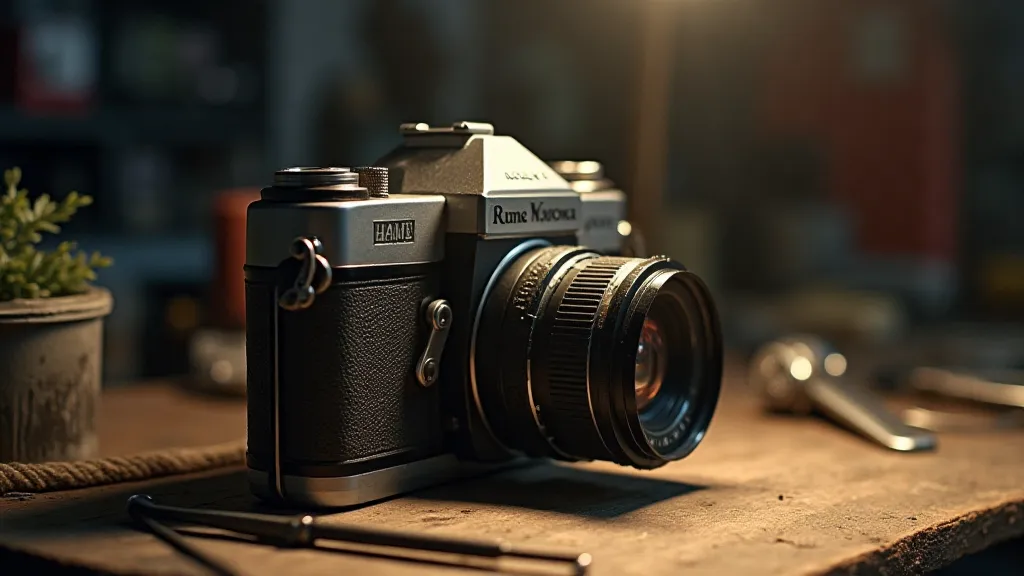
I remember finding my grandfather's Argus AF in a dusty box at a flea market. The leatherette was peeling, the focusing screen was hazy, and the advance lever felt gritty. It seemed a lost cause. But there was something about the way it felt in my hands, the memory of my grandfather, a quiet man who told stories with his photographs – it compelled me to try and bring it back to life. The initial test roll revealed a constellation of unwelcome flares across the negative – light leaks, mocking my efforts. That's when I learned the first, and most humbling, lesson in vintage camera restoration: patience.
The Allure and the Annoyance of Light Leaks
Ironically, light leaks are often celebrated by some film photographers. They introduce a unique, often unpredictable aesthetic – a romantic haze, streaks of ethereal light, a touch of the surreal. These imperfections can add character and a sense of nostalgia to an image, particularly when mimicking the look of older, less-refined processes. However, when these leaks appear where they *shouldn't*, distorting the intended composition and washing out crucial details, they quickly transition from charming to infuriating. They are a betrayal of the camera's function, a disruption of the creative process.
The reason for this emotional ambivalence is simple: light leaks represent the conflict between the camera’s intended purpose – to faithfully record a scene – and the reality of its age and the inherent fragility of its seals.
Understanding the Sources of the Lament
So, where do these unwanted rays of light originate? It's rarely a single point of failure. Multiple factors contribute, often compounded by years of storage and use. Here’s a breakdown of common culprits:
- Gasket Degradation: These rubber seals, strategically placed around the film door, lens mount, and viewfinder, are the primary line of defense against light. Over time, they dry out, crack, and lose their elasticity. This is the most common offender.
- Film Door Imperfections: The film door itself might have microscopic cracks or gaps, especially around the hinge points. Even seemingly minor blemishes can allow light to penetrate.
- Lens Mount Issues: The lens mount, responsible for securing the lens to the camera body, can develop gaps or wear, allowing light to spill in. This is particularly problematic with interchangeable lens systems.
- Viewfinder Problems: The viewfinder, the window through which you compose your shots, is another potential entry point. Degradation of the mirror or prism, or even damage to the internal coatings, can result in flares and light leaks.
- Body Seals: Less common, but still possible, are light leaks through the camera body itself, especially around the baseplate or battery compartment (if applicable).
The artistry of vintage cameras lay not just in the optical design but also in the meticulous sealing of every potential light path. It was a testament to a craftsman's dedication – a dedication rarely seen in today's mass-produced electronics.
The Detective Work: Diagnosing the Leak
Identifying the source of a light leak requires patience and a keen eye. Simply observing the leak on a test roll isn't enough – you need to pinpoint its origin. Here’s a systematic approach:
- Darkroom Examination: Load a roll of film and shoot a frame of a completely dark surface (e.g., a dark cabinet). Develop the film and examine the negative under a bright light. Note the location and pattern of the leak.
- Visual Inspection: With the camera in complete darkness, shine a bright light (a flashlight works well) around the camera's exterior, paying close attention to the film door, lens mount, viewfinder, and baseplate. Look for any sign of light penetration.
- Film Door Test: Carefully inspect the film door for cracks, gaps, and areas of uneven contact. A piece of thin card stock can be used to test for gaps— if the card can be slid between the door and the camera body, there's a leak.
- Lens Mount Check: Remove the lens (if applicable) and examine the lens mount for wear and gaps.
- Viewfinder Scrutiny: Use a strong light source and carefully inspect the viewfinder for any signs of internal damage or deterioration.
The process is akin to a detective's work, piecing together clues to uncover the truth. Each camera presents a unique puzzle, demanding a tailored approach.
Mitigation and Restoration: Addressing the Lament
Once the source of the leak is identified, there are several mitigation strategies you can employ. Keep in mind that complete elimination of all leaks is sometimes impossible, especially in severely degraded cameras. However, significant improvement is often achievable.
- Gasket Replacement: This is the most common and often most effective solution. New gaskets can be custom-made or sourced from specialized camera repair suppliers. The process requires careful disassembly and reassembly, following a detailed repair manual or online guide.
- Film Door Sealing: Small gaps in the film door can sometimes be sealed with thin adhesive film or sealant. This is a temporary fix, but it can provide a noticeable improvement.
- Lens Mount Cleaning and Tightening: Cleaning the lens mount and ensuring proper tightness can sometimes eliminate minor light leaks.
- Caulking or Sealing: For larger gaps, a tiny amount of black silicone sealant (carefully applied and cleaned up) can be used as a temporary fix.
- Professional Repair: If you're uncomfortable performing the repair yourself, or if the leak is particularly stubborn, consider taking the camera to a qualified camera repair technician.
Restoring a vintage camera isn't just about fixing mechanical problems; it’s about preserving a piece of history, a tangible link to the past. It's about recognizing the craftsmanship and artistry that went into its creation. The faint smell of aged leatherette, the satisfying click of the shutter – these are sensory experiences that transcend mere functionality.
The lament of aperture, the intrusion of unwanted light, is a reminder of the relentless march of time. But with patience, skill, and a deep appreciation for the artistry of the past, we can often silence that lament, at least for a while longer, allowing these timeless machines to continue capturing moments for generations to come.