Understanding and Replacing Light Seals on Vintage Cameras: A Step-by-Step Guide
One of the most common ailments affecting vintage film cameras is light leakage. This frustrating problem ruins exposures, leaves unsightly blemishes on your film, and can ultimately diminish the value of a treasured camera. The root cause is often degraded light seals. These seals, typically made from foam or felt, are strategically placed around the camera's film path – around the film door, around the take-up spool, around the pressure plate, and sometimes even around the lens – to ensure a light-tight environment. Over time, these seals dry out, crack, crumble, and lose their elasticity, allowing stray light to enter and compromise your images. This guide provides a comprehensive walkthrough of identifying, selecting, and replacing light seals on your vintage film cameras.
Why Light Seals Deteriorate
The primary culprit in light seal degradation is age. Many vintage cameras used lower-quality foam or felt that was not designed to withstand the test of time. Exposure to heat, humidity, and UV light accelerates this deterioration process. The chemicals in the foam or felt break down, leading to brittleness and crumbling. Even cameras stored in seemingly ideal conditions will experience some degree of seal degradation over several decades.
Identifying Degraded Light Seals
The first step in restoring your camera's light-tightness is to identify the degraded seals. Here’s what to look for:
- Visual Inspection: Carefully examine the film door, take-up spool, pressure plate, and any other areas where seals are present. Look for cracks, crumbling, discoloration (often a brownish or yellowish tinge), or general disintegration of the material.
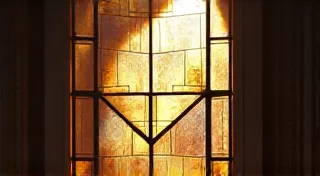
- Light Leak Tests: The most definitive test involves a light leak test. Load a roll of fast black and white film (ISO 400 or higher) into the camera. Cover the lens cap completely. Using a flashlight, illuminate the back of the camera and take a test exposure. Develop the film and carefully inspect the negatives. Light leaks will appear as bright spots or streaks on the negative, indicating the location of seal failures. Color film is also usable, but the contrast isn't as helpful.
- Consider Camera Age: Generally, cameras older than 1980 are more likely to have degraded light seals. However, even more recent cameras can be affected, particularly those stored improperly.
Image 1: 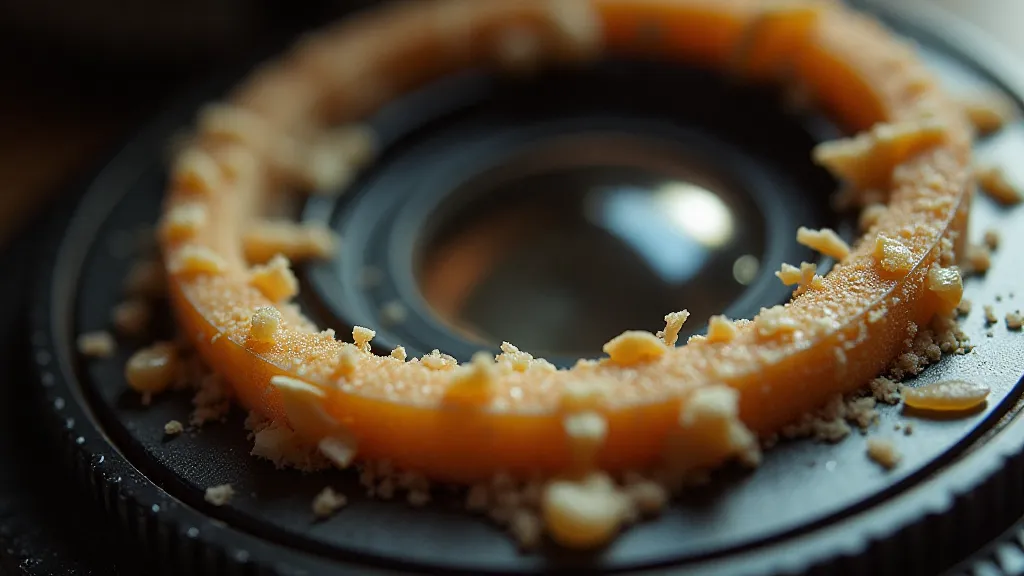
Selecting Replacement Materials
Replacing old, degraded light seals requires careful selection of appropriate replacement materials. The key is to find a material that is light-tight, durable, and compatible with the camera's internal environment. Avoid materials that can react with plastic components or leave a sticky residue over time.
- EVA Foam: Ethylene Vinyl Acetate (EVA) foam is the most commonly used material for replacing light seals. It’s available in various thicknesses, allowing you to match the original seal’s profile. It's relatively inert and has good adhesive properties.
- Foam Tape: Pre-made foam tape strips, often made of EVA foam, are convenient for replacing seals around the film door and take-up spool.
- Crepe Paper/Fabric: In some cases, particularly for seals around the pressure plate or lens, thin crepe paper or fabric (treated with a light-curing adhesive) can be a suitable alternative.
- Avoid Rubber Cement and Standard Adhesives: Many older adhesives become brittle over time and can damage the camera’s internal components.
Tools and Materials Needed
Before you begin the replacement process, gather the following tools and materials:
- New Light Seal Material: EVA foam, foam tape, or appropriate fabric.
- Sharp Craft Knife or Razor Blade: For precisely cutting the new seals.
- Cutting Mat: To protect your work surface.
- Tweezers: For handling small pieces of seal material.
- Small Paintbrush: For applying adhesive.
- Light-Curing Adhesive: A specialized adhesive formulated for light seal replacement. (e.g., CCI Light Seal Replacement Adhesive, or similar product). Follow the manufacturer's instructions carefully. These adhesives are typically two-part systems - a liquid adhesive and a hardener - that require precise mixing and light curing.
- Bright Light Source: For curing the adhesive. UV lamps are ideal, but bright LED work lights can be used as a substitute (curing times will be longer).
- Cleaning Supplies: Isopropyl alcohol (90% or higher) and cotton swabs for cleaning surfaces.
Step-by-Step Replacement Guide
- Disassembly: Carefully disassemble the camera to access the light seals. Refer to your camera’s service manual or online resources for disassembly instructions. If you're not comfortable disassembling the camera, seek assistance from a qualified camera technician.
- Cleaning: Thoroughly clean the surfaces where the old seals were attached. Remove any remnants of the old adhesive using isopropyl alcohol and cotton swabs.
- Pattern Creation (Optional): The best approach involves creating a pattern of the existing degraded seal. Place a piece of tracing paper over the old seal and carefully trace its shape. This pattern can be used as a template for cutting the new seal. If creating a template isn’t possible, carefully estimate the shape and size of the seal.
- Cutting the New Seals: Using the pattern (or your best estimate), cut the new light seal material to the appropriate shape and size. Take your time and ensure that the cuts are clean and precise.
- Applying Adhesive: Apply a thin, even layer of the light-curing adhesive to both the back of the new seal and the surface of the camera where the seal will be attached. Follow the adhesive manufacturer’s instructions for mixing and application.
- Positioning the Seal: Carefully position the new seal onto the camera, ensuring that it adheres firmly and covers the entire area where the old seal was located.
- Curing the Adhesive: Expose the adhesive to a bright light source for the time specified by the manufacturer. This will cure the adhesive and bond the seal to the camera.
- Repeat: Repeat the process for all remaining light seals.
- Reassembly: Carefully reassemble the camera, following the disassembly instructions in reverse order.
Image 2: 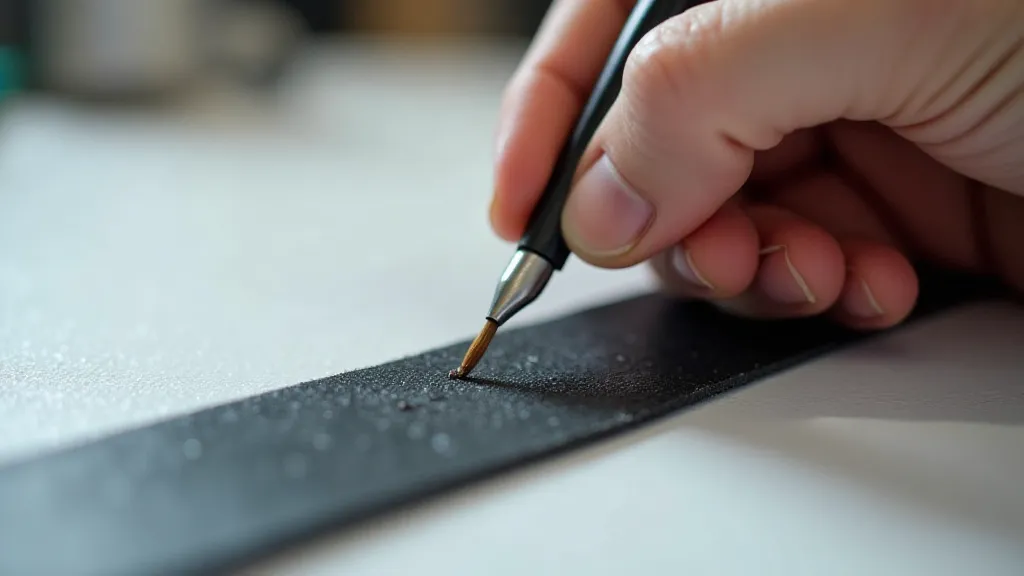
Common Pitfalls and Troubleshooting
- Using the Wrong Adhesive: Using an inappropriate adhesive can damage the camera’s internal components or create a sticky residue over time.
- Applying Too Much Adhesive: Excess adhesive can squeeze out from under the seal and create a mess.
- Poor Seal Placement: Incorrectly positioned seals won't provide adequate light-tightness.
- Insufficient Curing: Under-cured adhesive will result in a weak bond.
- Damaging Camera Components: Be extremely careful not to scratch or damage other camera components during the replacement process.
- Not identifying all light leak sources: Sometimes a light leak may be caused by a damaged viewfinder or other parts of the camera.
Image 3: 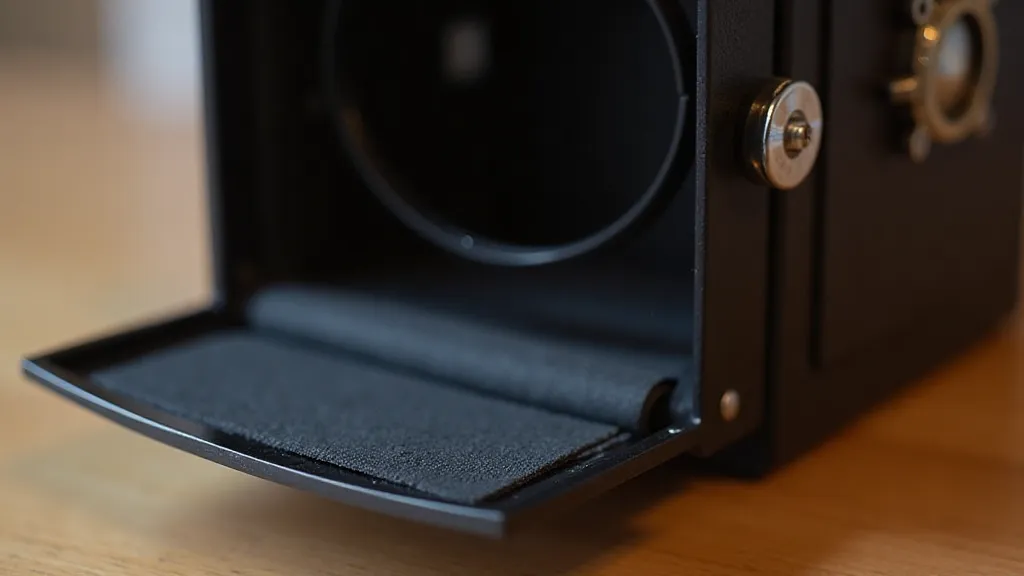
Conclusion
Replacing light seals is a relatively straightforward repair that can significantly improve the performance of your vintage film camera. By following these steps and taking your time, you can restore your camera’s light-tightness and enjoy years of trouble-free shooting. Remember to consult your camera’s service manual for specific disassembly and reassembly instructions. If you are not comfortable performing this repair yourself, seek assistance from a qualified camera technician.