Cleaning and Lubricating Vintage Camera Lenses: Preserving Image Quality
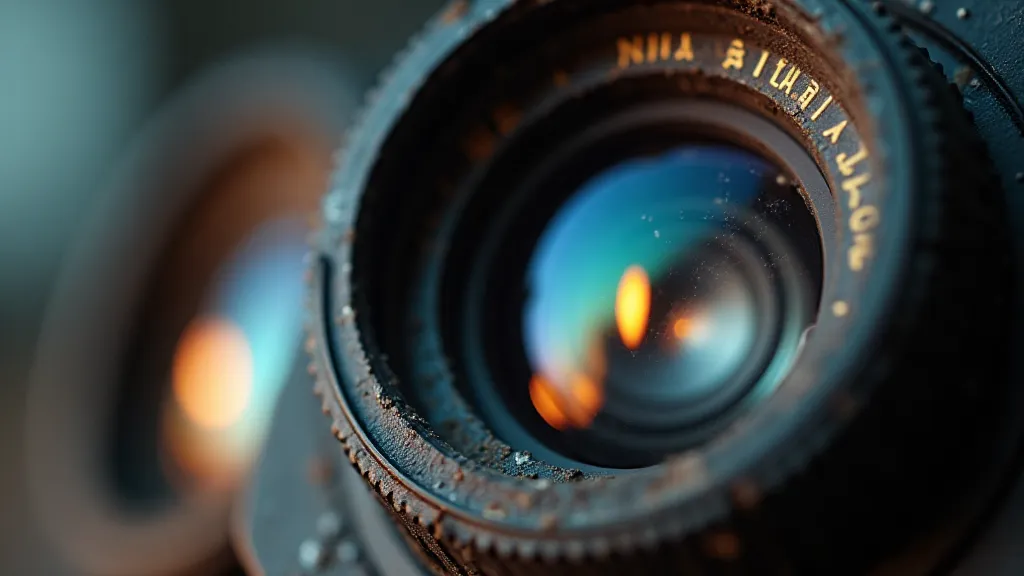
Vintage film cameras are treasured for their unique character and image quality, often surpassing that of modern lenses. However, years of neglect can take their toll on these optical treasures, particularly on the lenses. Dust, grime, dried lubricants, and fungal growth can significantly degrade image clarity, contrast, and overall performance. This article provides a detailed guide on safely cleaning and lubricating vintage camera lenses, covering different lens coatings and materials, and emphasizing techniques to prevent permanent damage.
Understanding the Challenges: Lens Materials and Coatings
Before tackling any cleaning or lubrication, it's crucial to understand the materials and coatings present on your lens. Early lenses were often constructed entirely of glass, which is relatively robust but can be brittle. Later lenses might incorporate plastic elements, which are more susceptible to scratching and chemical damage. Coatings, applied to reduce flare and improve light transmission, are even more delicate. These commonly include:
- Single Coating: Found on older lenses, this is the most durable coating but offers minimal flare reduction.
- Multilayer Coating: A significant improvement over single coatings, these offer substantial flare reduction and increased light transmission. They are also more fragile.
- Mirror Coatings: Found on some reflex lenses, these are highly specialized and extremely delicate.
Identifying the type of coating present is difficult without prior knowledge of the lens model, but caution is always advised. Never assume a lens is uncoated – it's better to be overly careful than to permanently damage a coating.
Initial Cleaning: Removing Surface Dust and Grime
The first step is always the least invasive – removing loose dust and surface grime. This can be achieved with:
- Blower Brush: A high-quality blower brush (not canned air!) is your primary weapon against loose dust. Use short, controlled bursts of air.
- Lens Brush: A dedicated lens brush with soft bristles can gently sweep away stubborn dust particles. Ensure the brush is clean and free of debris before use.
- Microfiber Cloth (Dry): A clean, lint-free microfiber cloth can be used to gently wipe away residual dust. Avoid applying excessive pressure.
Important Note: Never use water or cleaning solutions at this stage. The goal is to remove loose particles without introducing any liquids that could potentially seep into the lens assembly.
Deep Cleaning: Addressing Stubborn Grime and Haze
If dry cleaning methods fail to restore clarity, more aggressive techniques are needed. However, these require a much greater degree of caution.
- Lens Cleaning Solution: A commercially available lens cleaning solution, specifically designed for photographic lenses, is the preferred option. Avoid household cleaners, as they often contain harsh chemicals that can damage coatings.
- Cotton Swabs: Use high-quality cotton swabs for precise application of the cleaning solution.
- Microfiber Cloth (Damp): Use a clean microfiber cloth, *very lightly* dampened with the cleaning solution.
Cleaning Technique: Apply a *tiny* amount of cleaning solution to a cotton swab or the microfiber cloth. Gently wipe the lens surface in a circular motion, overlapping each pass. Use a clean section of the cloth for each wipe. Repeat until the lens surface is clear. Avoid applying pressure – let the cleaning solution do the work.
Dealing with Haze: Haze can be caused by dried lubricants or fungal growth. Persistent haze may require multiple cleaning sessions. For severe cases, professional cleaning is recommended. Fungus can be especially difficult to remove and can permanently damage the lens if not handled properly.
Lubrication: Maintaining Smooth Focusing and Aperture Operation
Over time, lubricants within the lens assembly can dry out, leading to stiff focusing and aperture mechanisms. Lubrication can restore smooth operation, but it's a complex process that should only be attempted by experienced individuals.
Identifying Lubrication Points: Common lubrication points include focus helicoids, aperture blades, and cam mechanisms. These are usually accessible by carefully disassembling the lens (which is beyond the scope of this article). Use reference materials (service manuals, online forums) to identify the correct points.
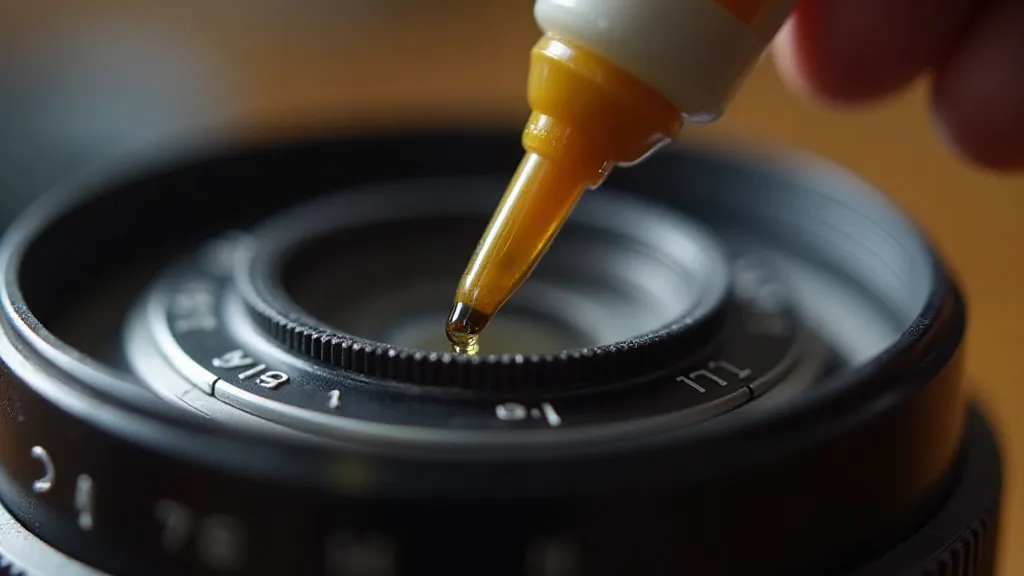
Choosing the Right Lubricant: Photographic lens lubricants are specifically formulated to be compatible with lens elements and coatings. Never use general-purpose lubricants like WD-40, which can damage the lens and attract dust.
Application Technique: Apply lubricant sparingly, using a fine-tipped applicator (e.g., a needle oiler). A single drop is usually sufficient. Avoid over-lubricating, as this can attract dust and create a sticky residue.
Common Mistakes to Avoid
- Using Harsh Chemicals: Avoid household cleaners, alcohol, or solvents not specifically designed for photographic lenses.
- Applying Excessive Pressure: Gentle is the key to preserving coatings and avoiding scratches.
- Over-Cleaning: Excessive cleaning can actually damage coatings. Only clean when necessary.
- Disassembling the Lens: Unless you have experience, avoid disassembling the lens. It’s easy to make mistakes that are difficult to correct.
- Ignoring Warning Signs: If you encounter significant resistance or observe any unusual behavior during cleaning, stop and seek professional help.
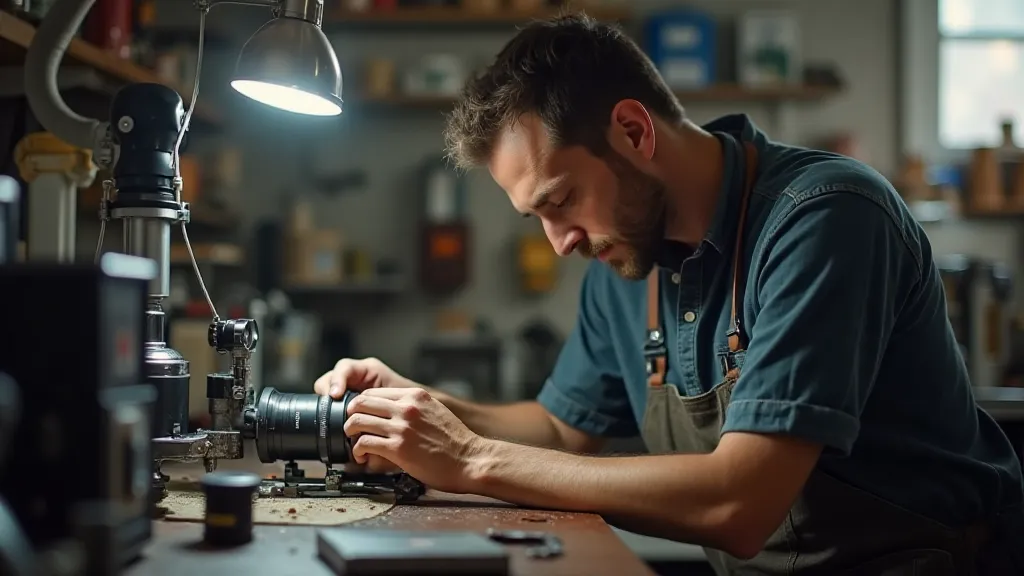
Professional Cleaning and Repair
For valuable or complex lenses, or if you are unsure about any aspect of the cleaning or lubrication process, it’s best to seek professional help. A qualified camera repair technician has the expertise, tools, and experience to safely restore your vintage lens to its former glory.
Conclusion
Cleaning and lubricating vintage camera lenses is a delicate process that requires patience, care, and a thorough understanding of the materials involved. By following the guidelines outlined in this article, you can significantly extend the lifespan of your vintage lenses and preserve their unique image quality. Remember that prevention is always better than cure – regular dust removal and careful handling can minimize the need for more aggressive cleaning techniques.